Prerequisites
- You have installed maiLink Client on your computer
- You have downloaded or transferred the maiLink agent installer
- You have administrator rights to install software
Step 1: Begin installing Agent software on remote device
- In a browser, log into your maiLink account at app.maidata.io.
- Navigate to the Software tab.
- Select maiLink Agent and Windows.
- Click on the installer mailink-agent_{version}_windows_amd64.exe for the latest version of the Agent software.
- Follow the instructions until you arrive at the maiLink Agent Device key screen.

- Leave the installer as shown above and proceed to Step 2.
Step 2: Create the Device in the maiLink Cloud.
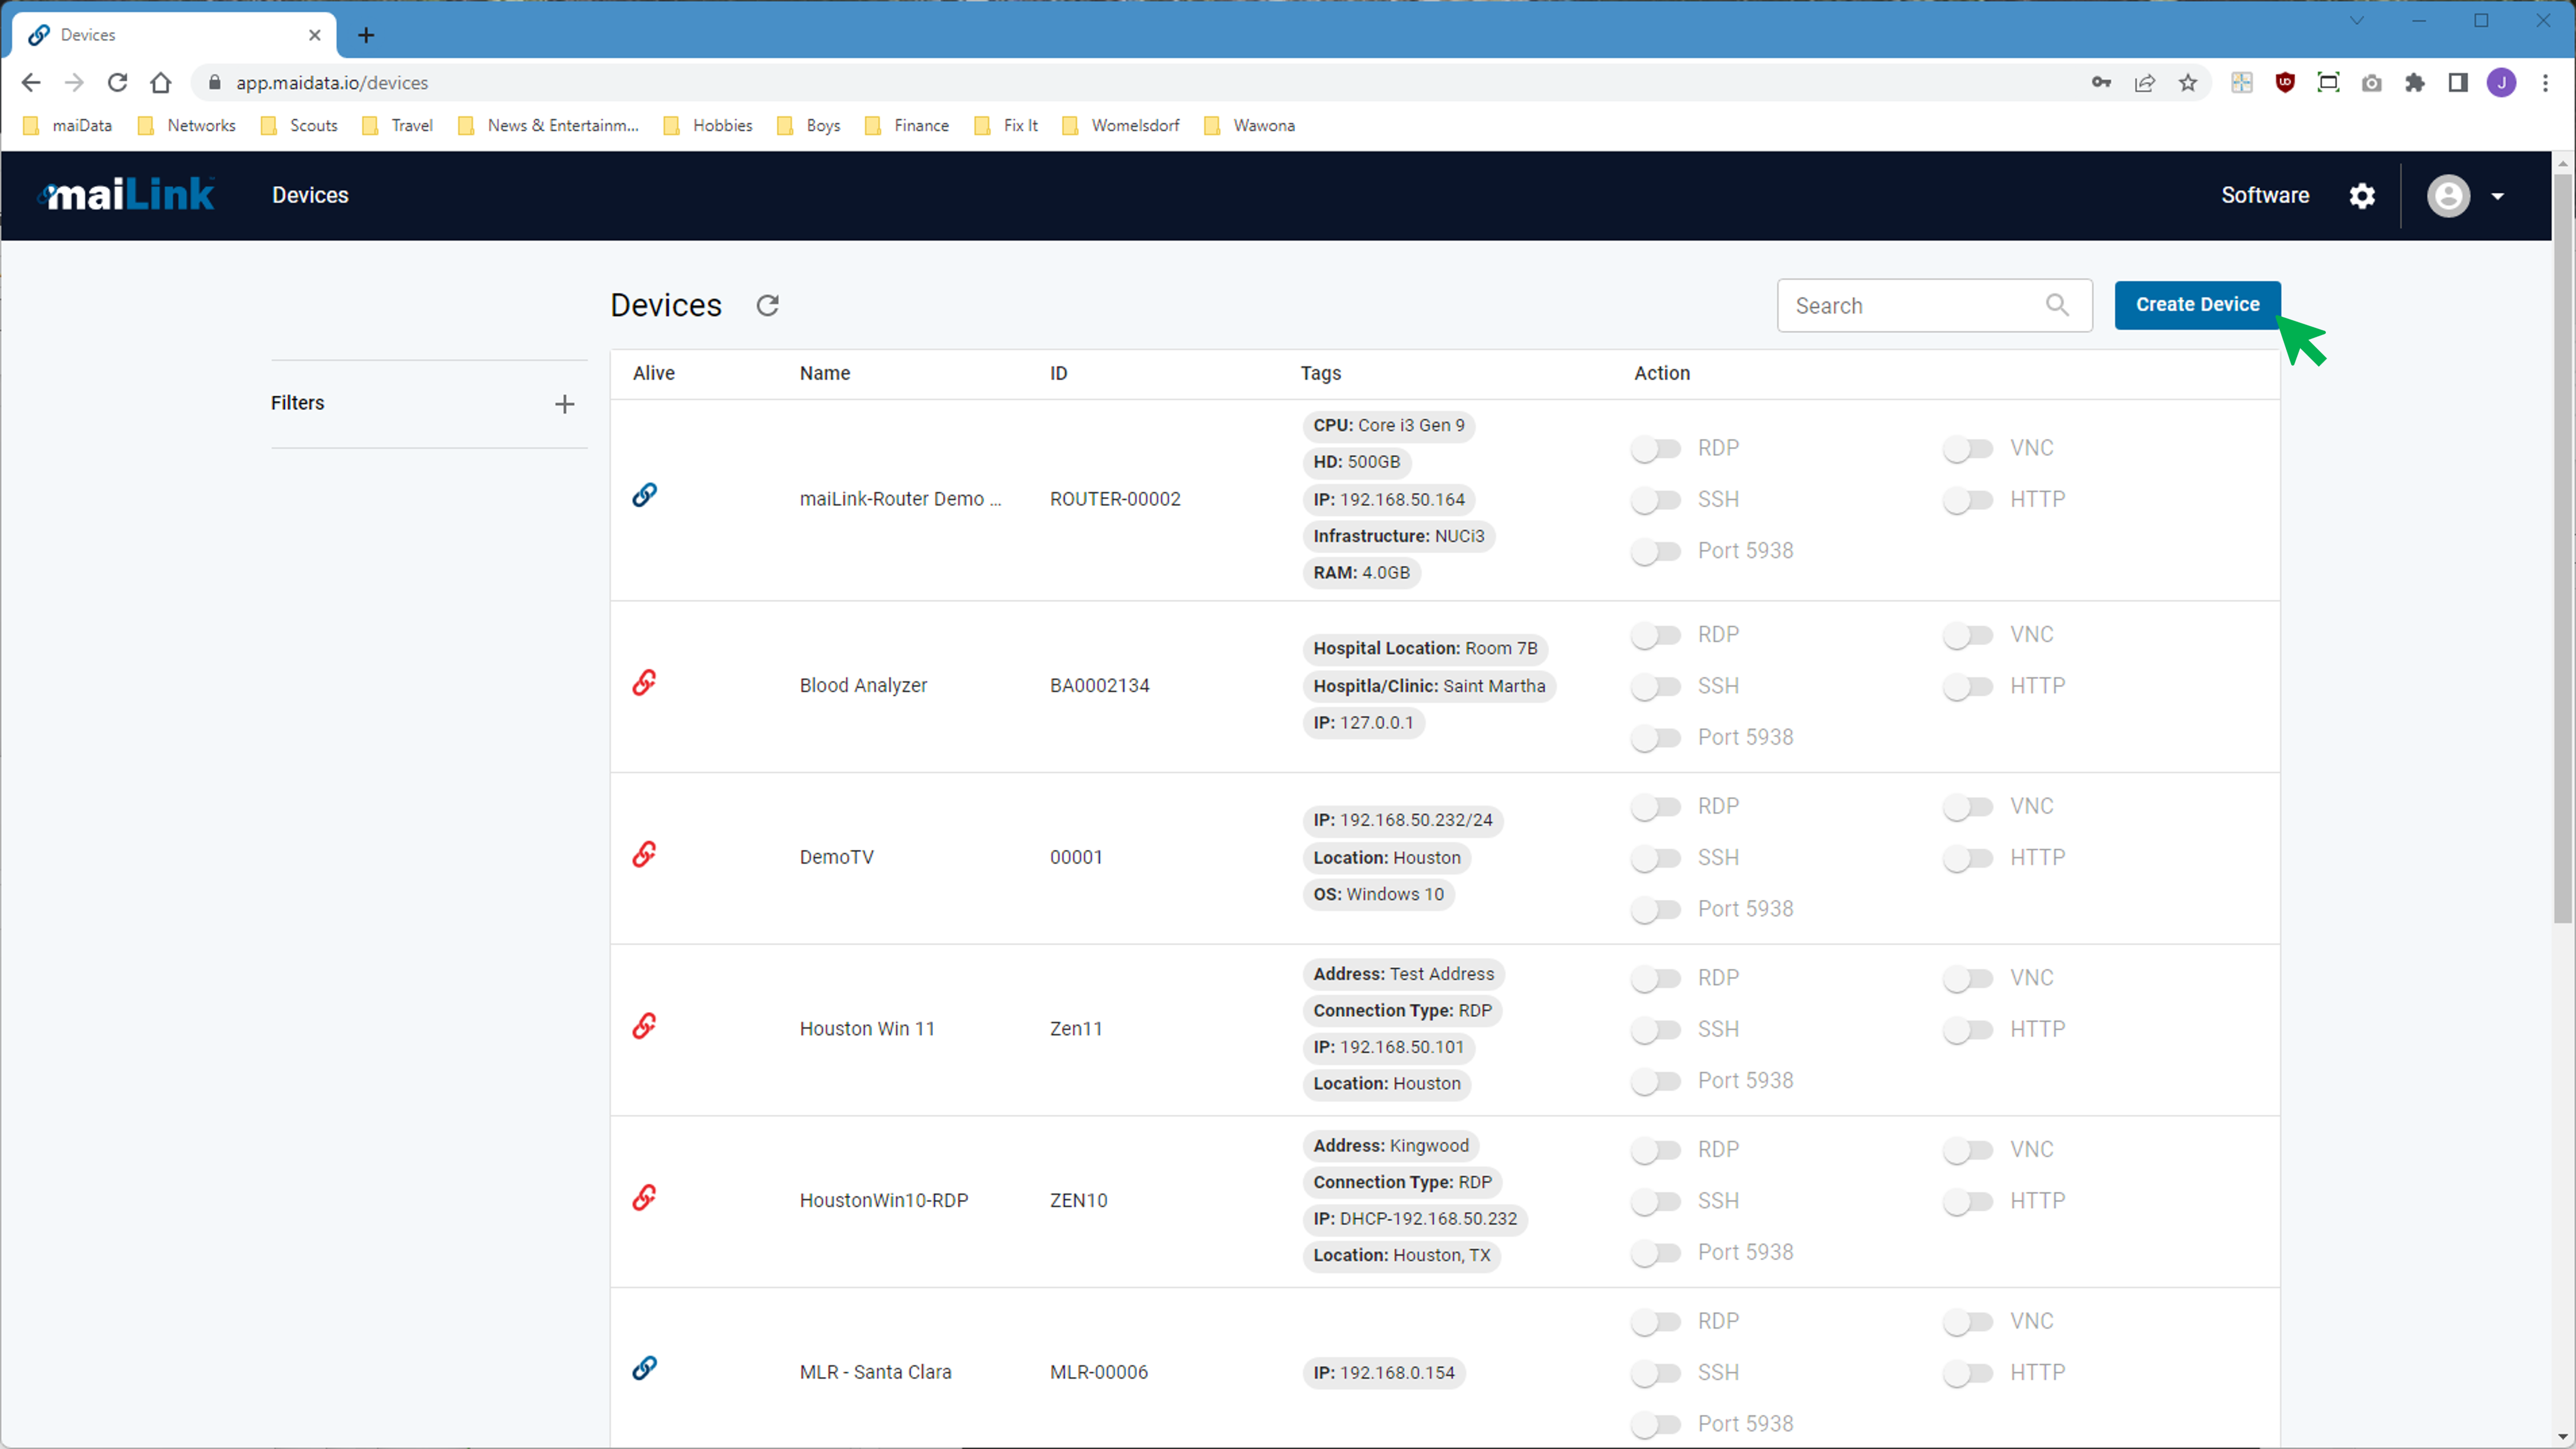
- Navigate to the Devices page.
- Click on Create Device.
- Enter a Device Name and Device ID (Serial Number is recommended).
- Click + to add tags that help identify the system, such as:
- Site Name
- Address
- IP Address
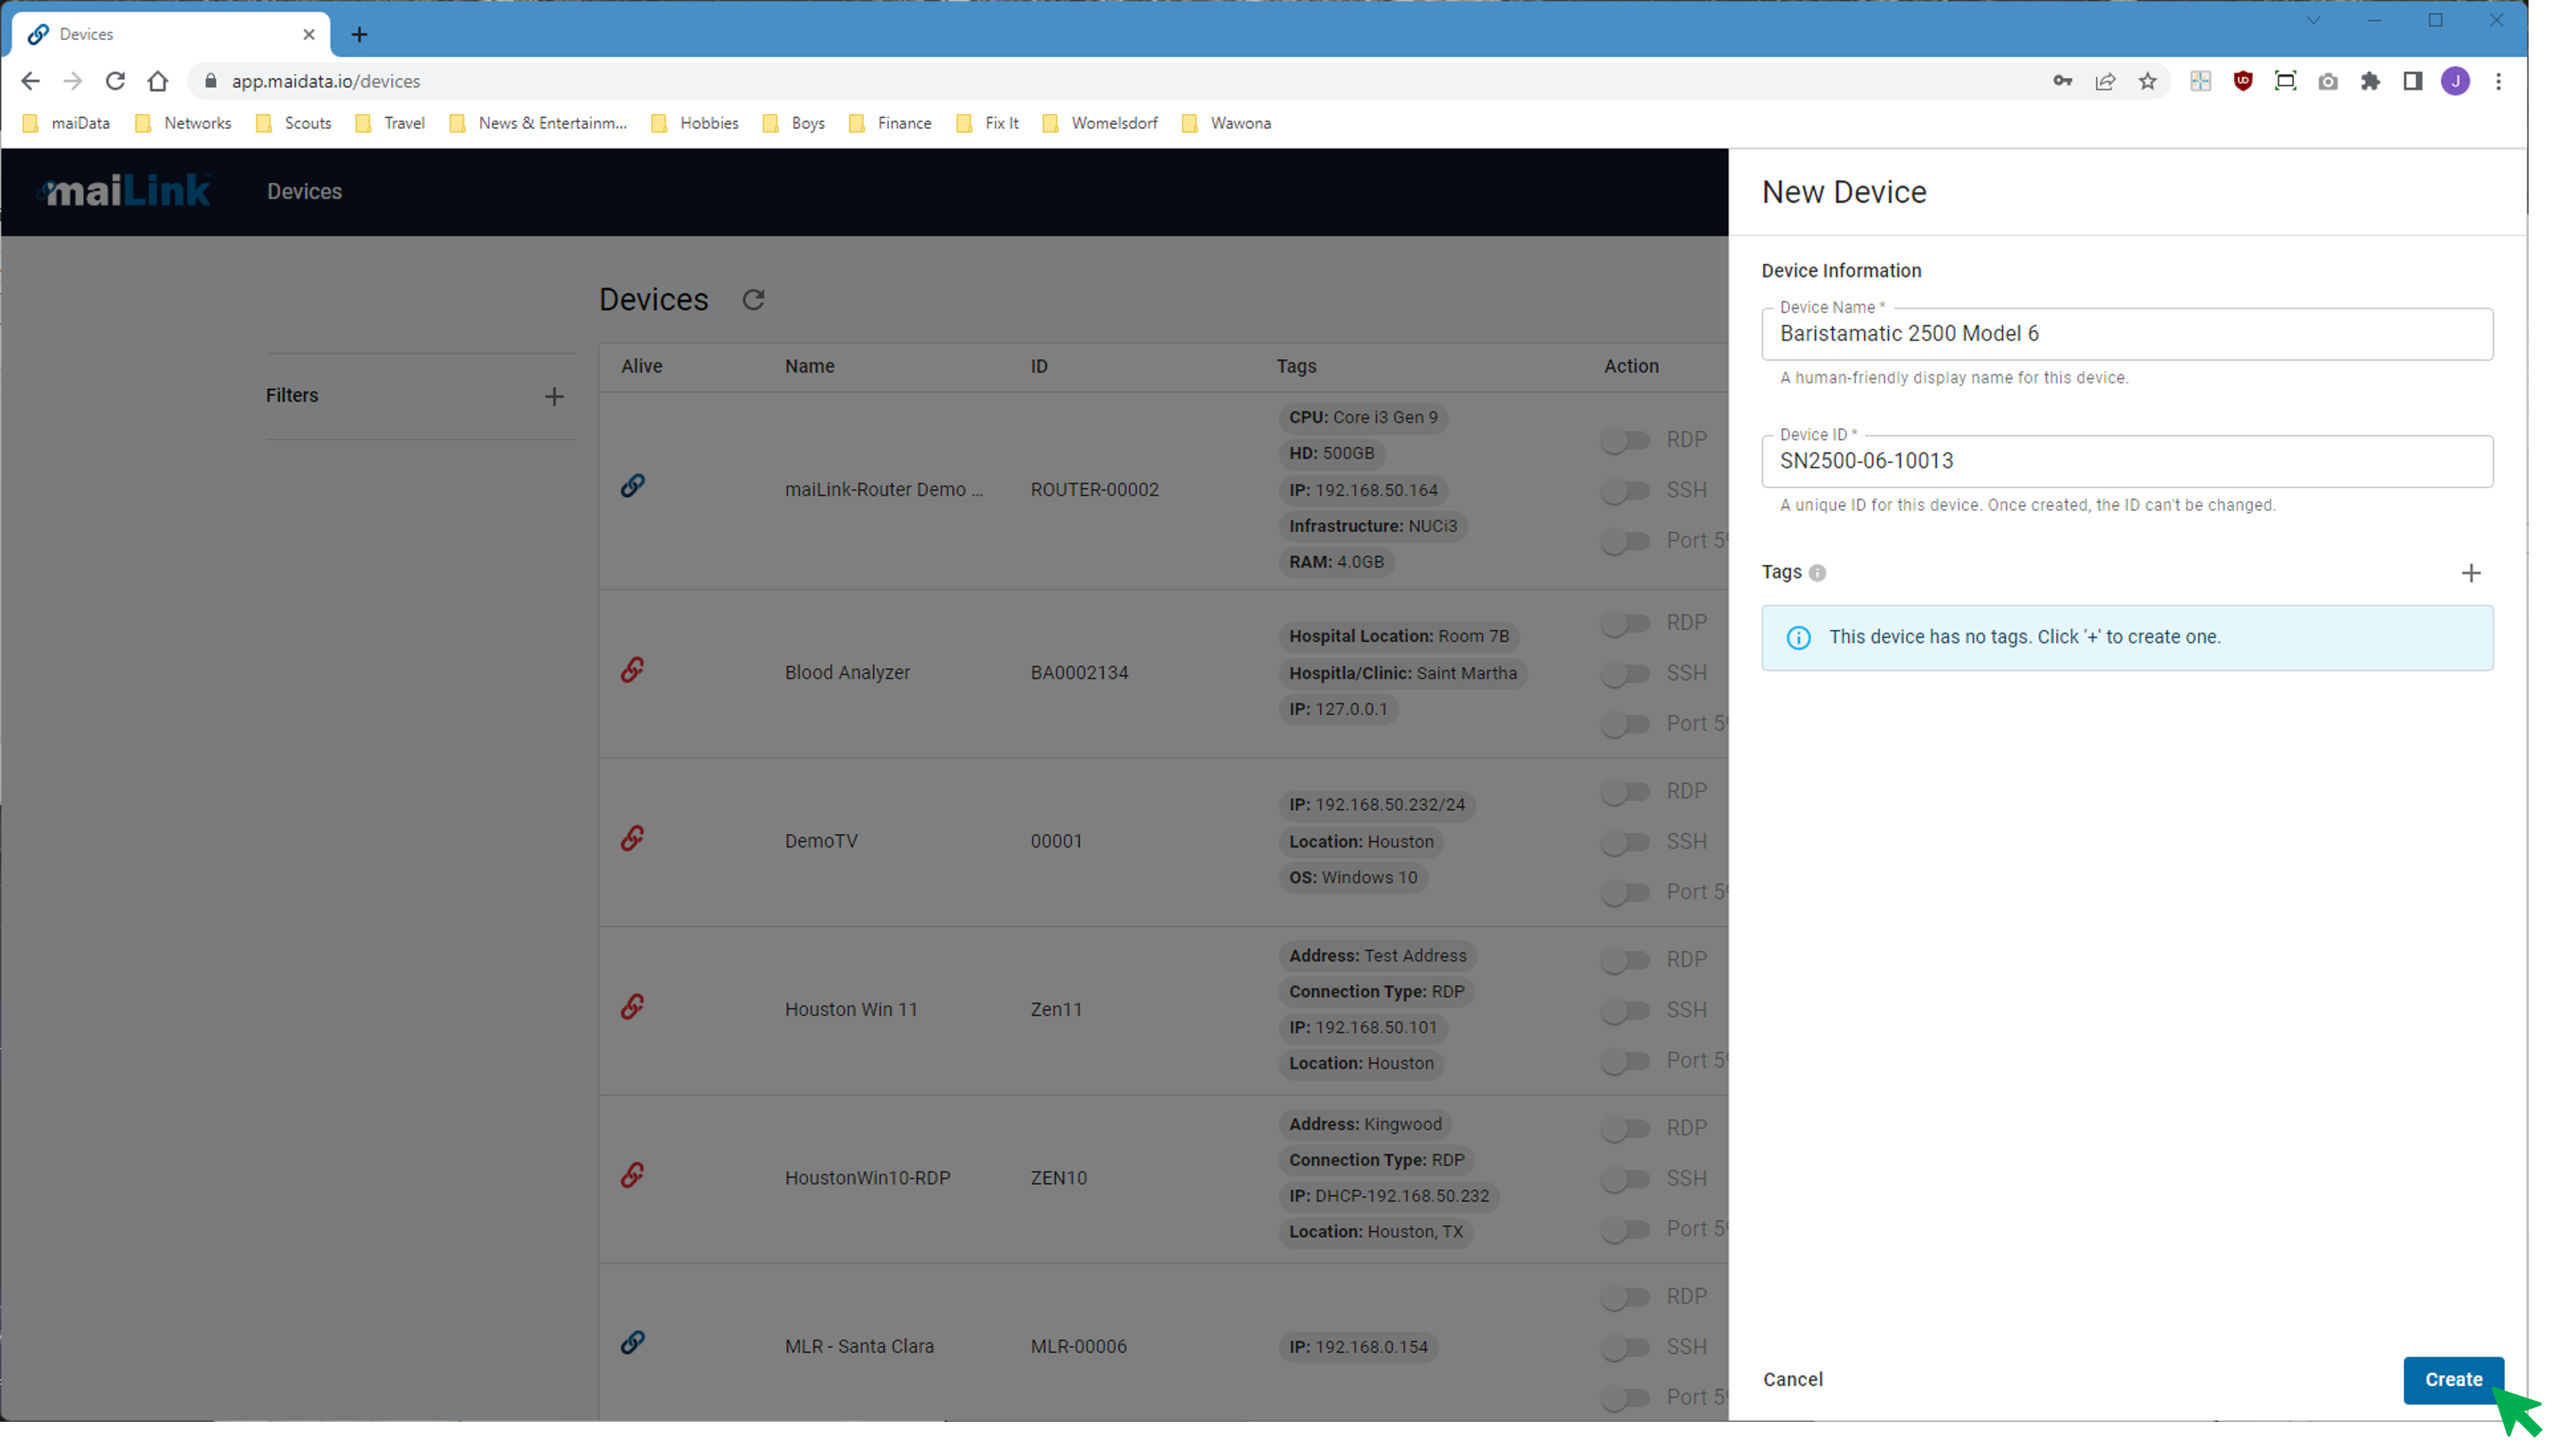
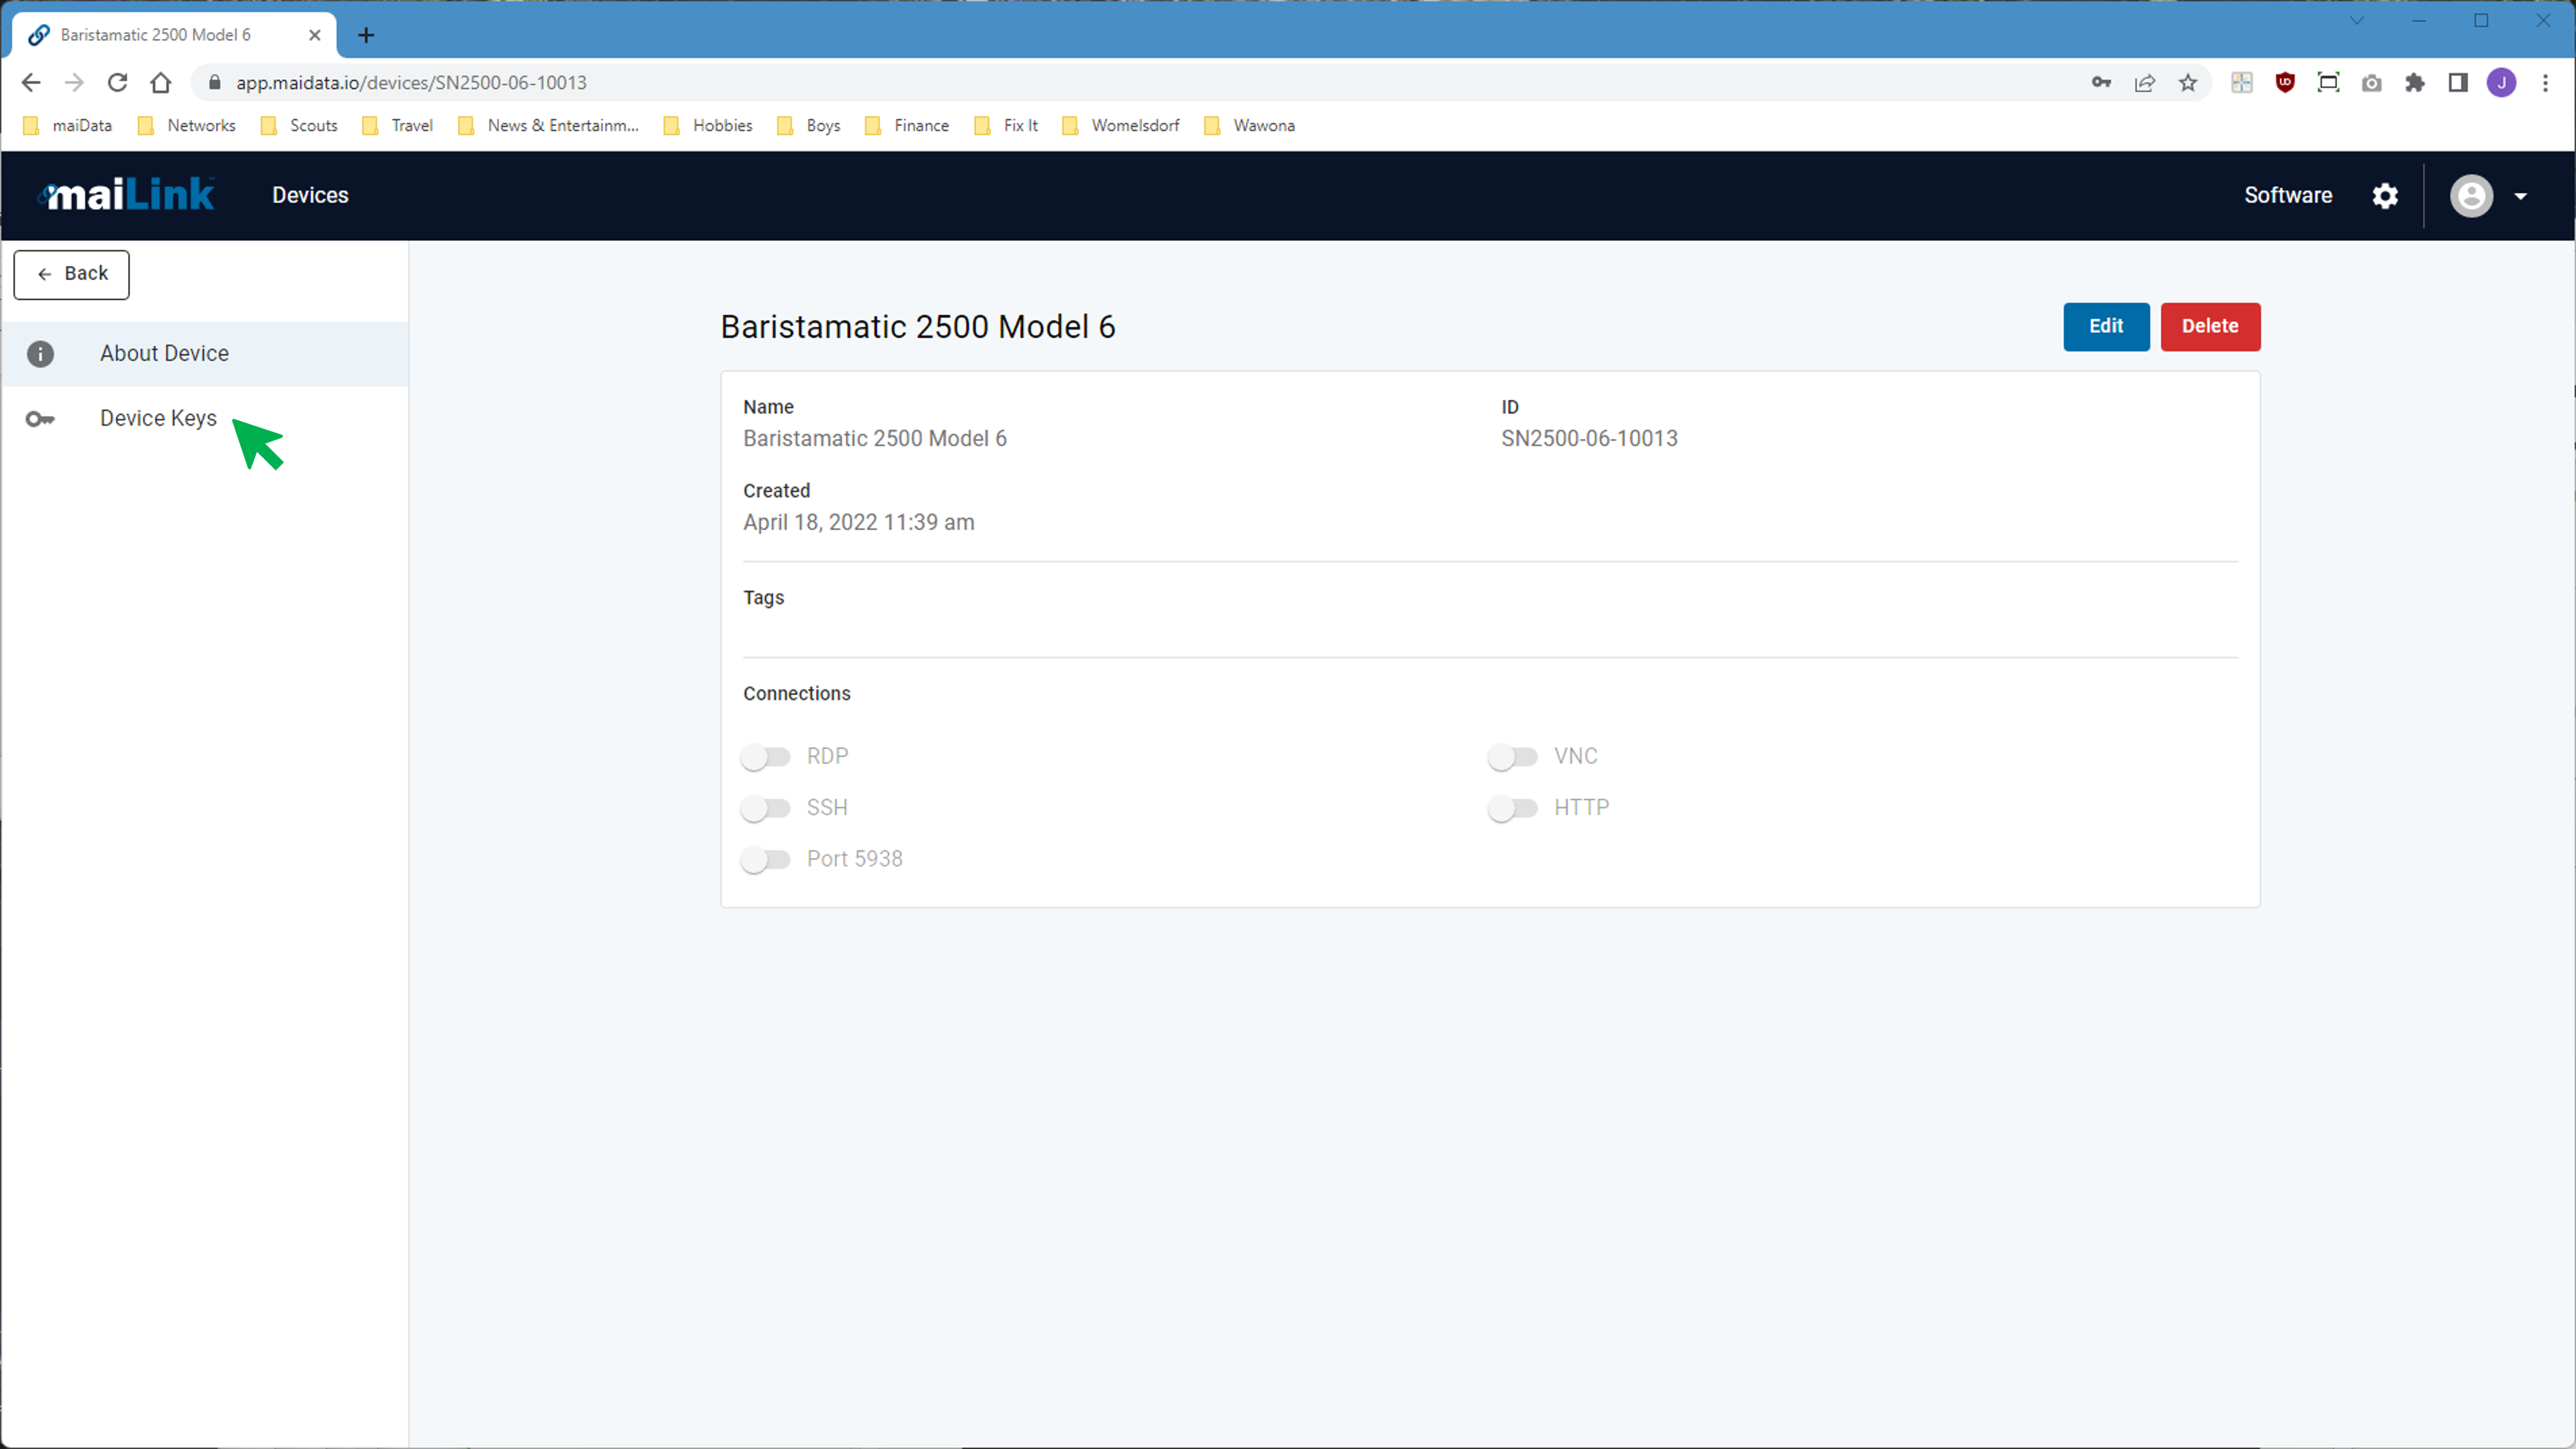
- Click Create to save the settings and open the Device Info page for the new device.
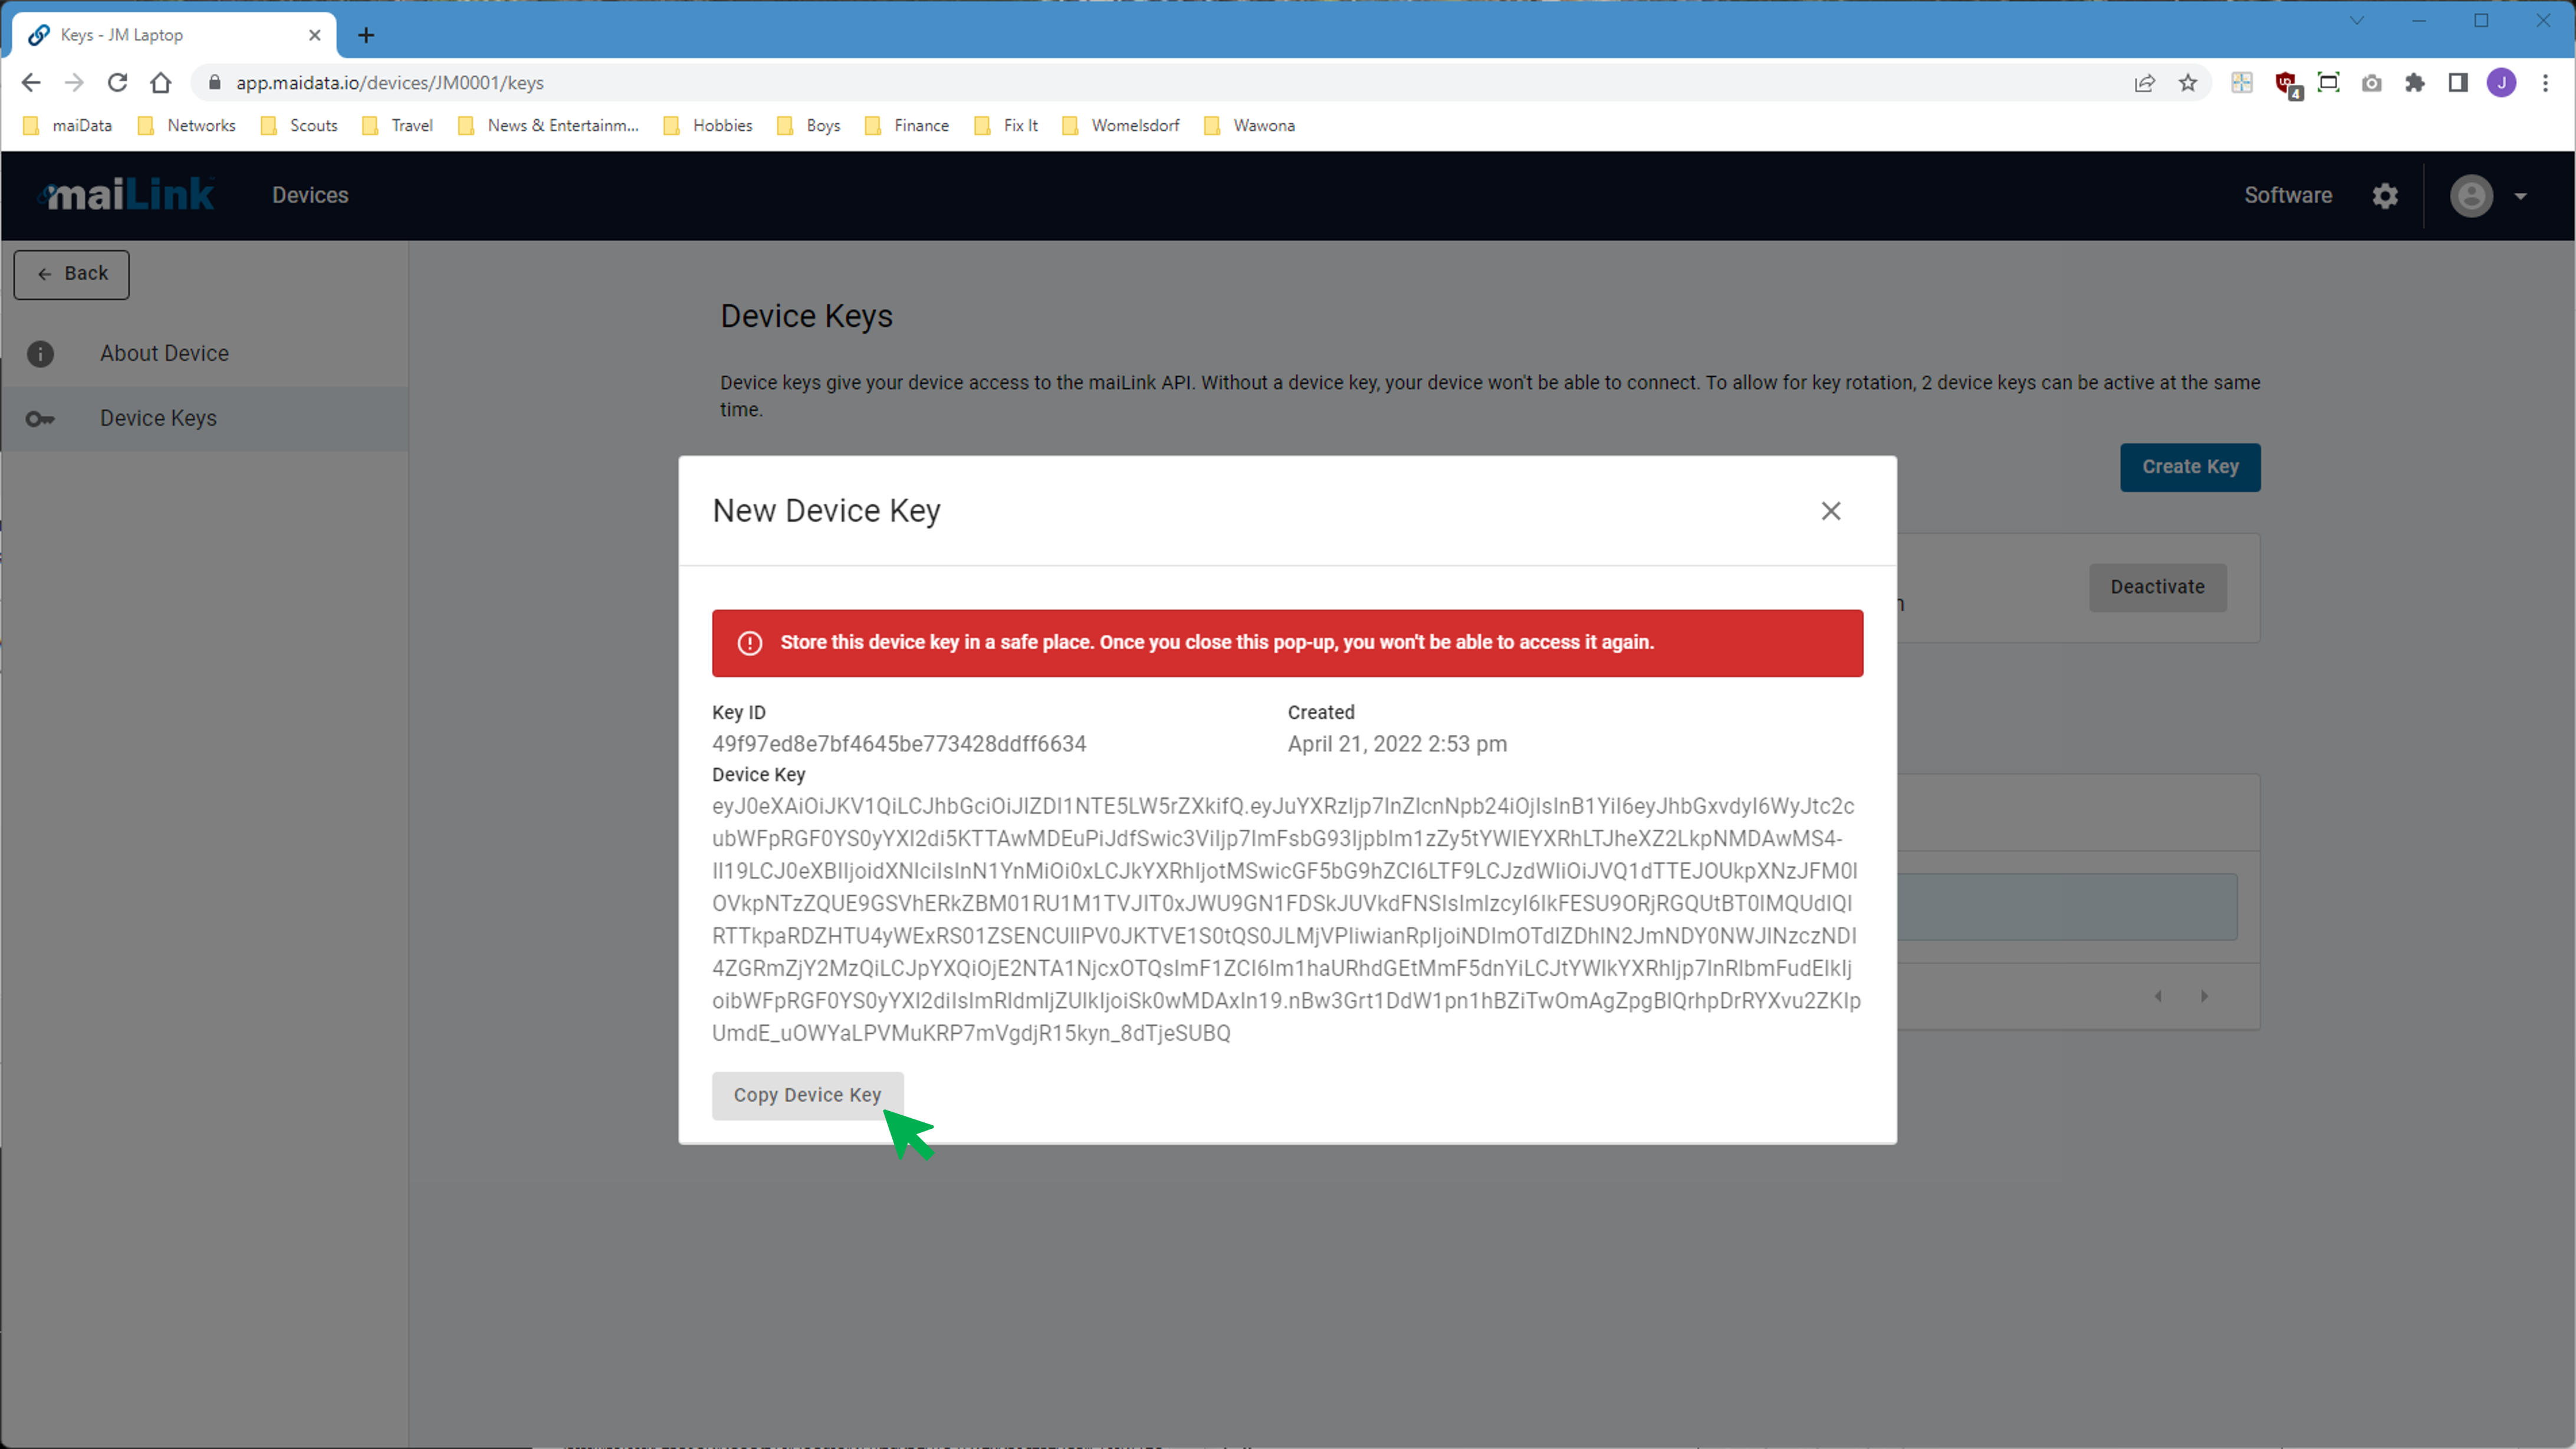
Step 3: Create a Device Key for the new device.
- Click on Device Keys side tab.
- Click on Create Key.
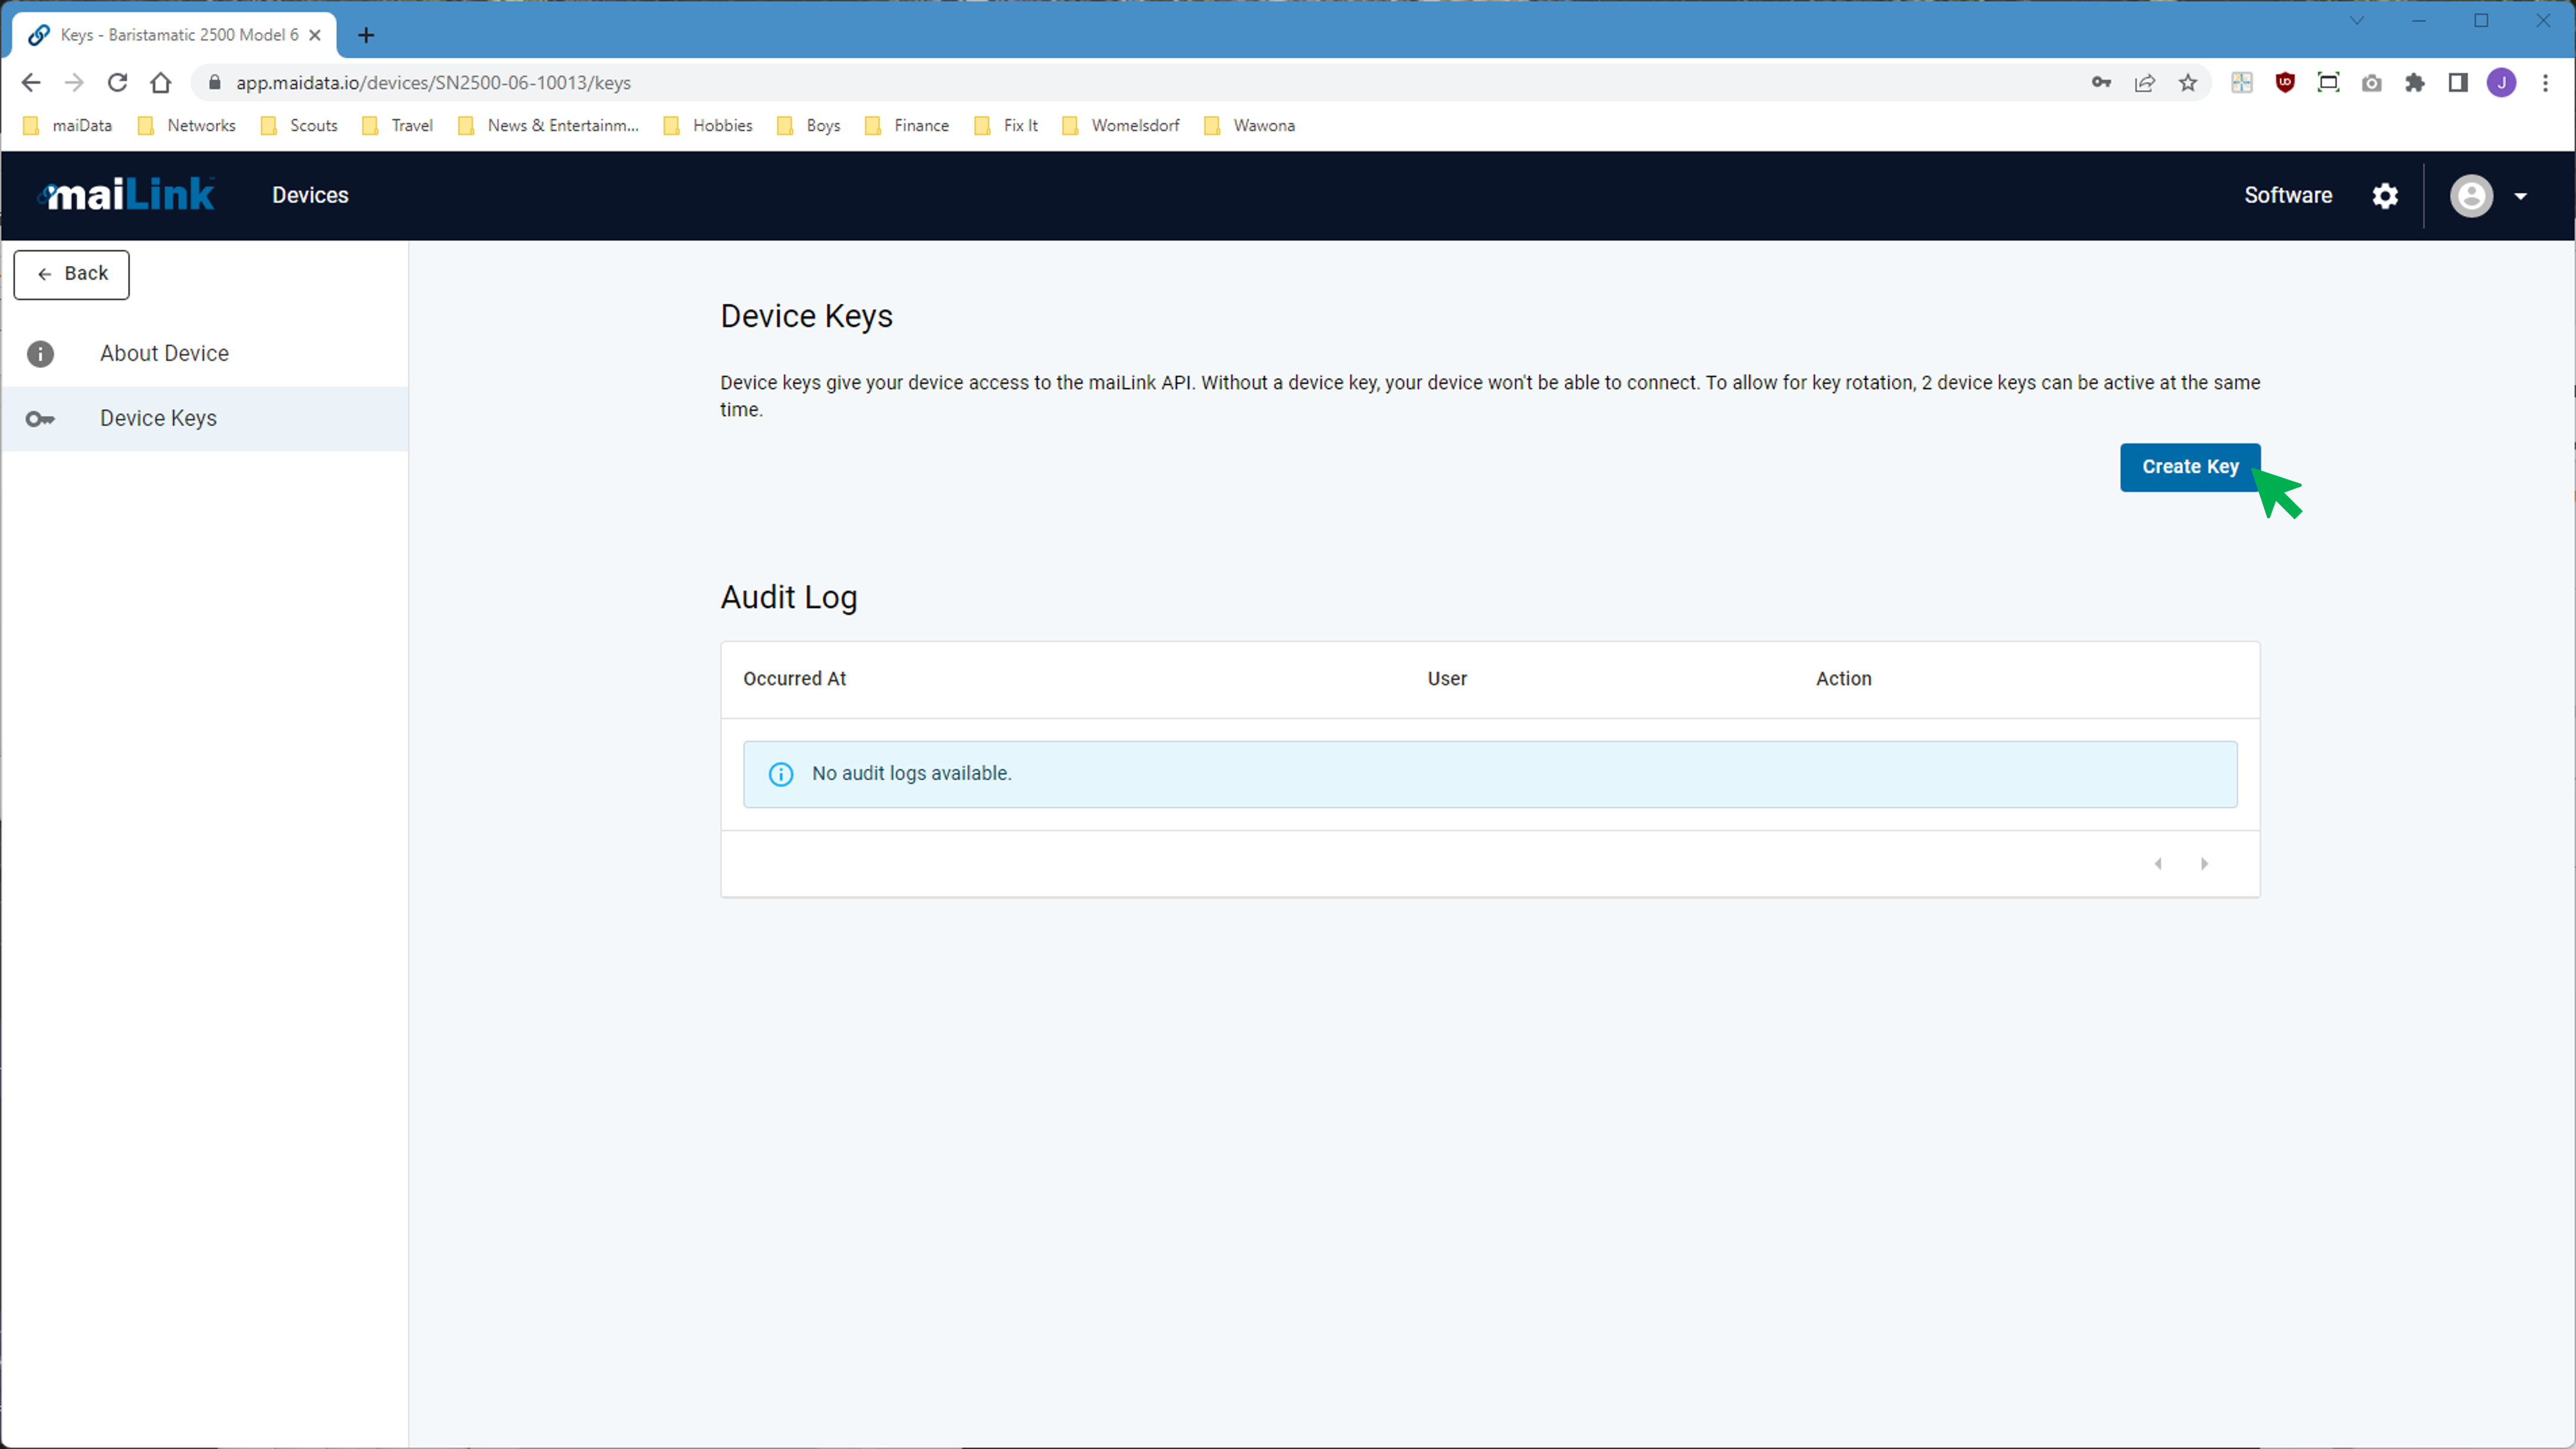
- Click on Copy Device Key to save the key to the Clipboard.
Step 4: Finish the Agent Installation
- Return to the Agent installer on the remote device.
- Click in the large installer text entry box and paste (Ctrl-V) the Device Key from the clipboard. Click Install.

- Then continue following the instructions until the installer completes.
Step 5: Verify the Agent is Connected
- Navigate to the Devices page in the maiLink webpage.
- Verify that the device is connected to the maiLink SRM Cloud by observing a small solid green dot at the left.
Success!
The new device is now connected. If you have the maiLink Client installed on your machine, you will be able to access the new device remotely.
If you have issues, contact your Administrator or email maiData Customer Support at maiData at service@maidata.io.